

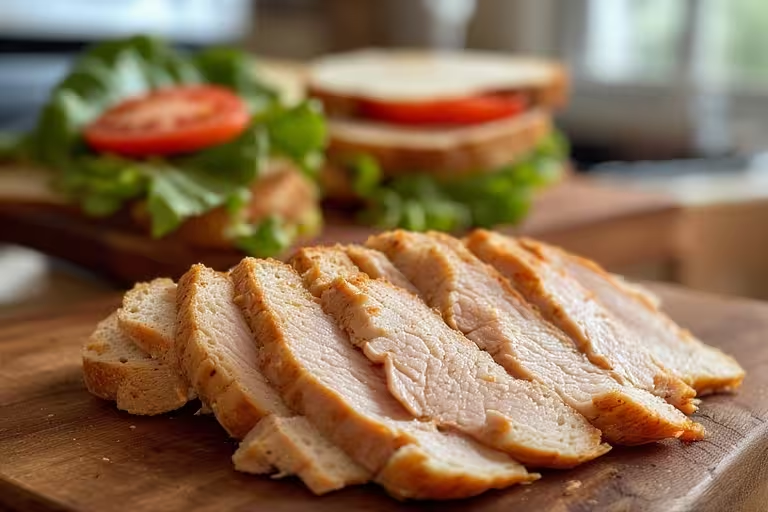
Finding quick and healthy lunch options that the whole family actually enjoys can feel like a constant challenge. This quick & flavorful chicken lunch meat recipe is the perfect answer. It delivers all the convenience of pre-sliced deli meat but is packed with so much more flavor and none of the questionable ingredients. You can whip this up in under an hour, and it will completely change your lunch-packing game. We’ll cover the simple seasoning for this foolproof chicken lunch meat recipe, a great cooking method, and some fun ways to serve it that go way beyond a basic sandwich. Get ready to make a lunch meat your family will ask for again and again.
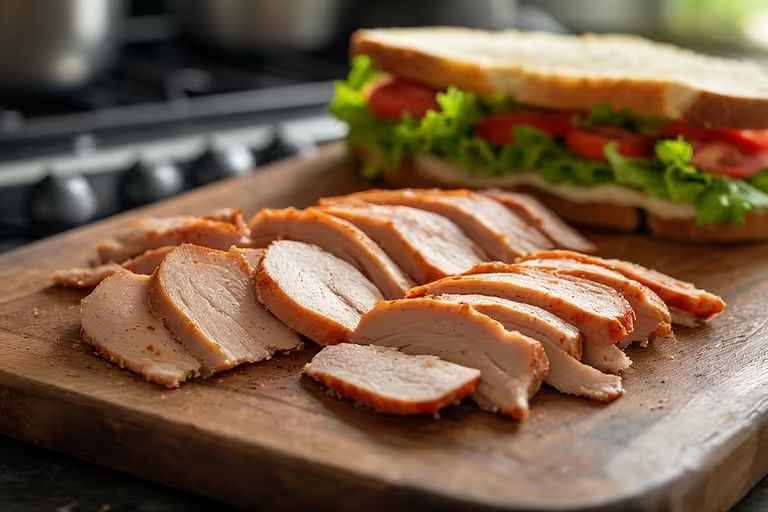
Table of Contents
Table of Contents
Why This Homemade Chicken Lunch Meat Recipe is a Game-Changer
Let’s be real, the deli counter is convenient, but the options are often a compromise between taste, health, and what the kids will actually eat. This amazing chicken lunch meat recipe isn’t a compromise; it’s an upgrade across the board. It transforms a simple chicken breast into something truly special, putting you in complete control of the flavor and ingredients from start to finish.
From Store-Bought to Unforgettable: My Deli Meat Journey
Hi, I’m Maya Thompson. My journey to creating this recipe started, like many parents’, with a peek into my family’s lunchboxes. I was tired of the bland, processed options from the grocery store. It reminded me of my childhood in Savannah, where my grandmother taught me that good food is simple food, made with heart.
She could turn a regular bird into a feast, similar to this wonderful slow cooker whole chicken, and her kitchen was always filled with incredible smells. I wanted to bring that same love and quality to my own family’s meals, even on busy weekdays. This chicken lunch meat recipe was born from that desire—to create something quick, wholesome, and delicious enough that everyone would love it.
The Simple Joy of Knowing What’s in Your Food
One of the best feelings is serving your family food that you know is good for them. While store-bought lunch meat often has a long list of nitrates and preservatives, this particular chicken lunch meat recipe gives you peace of mind. With this approach, you get chicken and spices. That’s it.
You control the salt, you choose the seasonings, and you create a flavor that’s perfectly suited to your family’s tastes. Furthermore, “quick and flavorful” doesn’t mean you have to skip the health benefits. This recipe proves you can have it all. It’s a clean, simple protein source that’s just as easy to prepare as other family favorites, like these air fryer chicken cutlets, and it makes lunchtime something to look forward to.
Preparing Your Chicken for the Perfect Deli Slice
The secret to an amazing final product always starts with great prep work. Don’t worry, this part is incredibly simple and fast, but these steps make a huge difference in the texture and flavor of your homemade deli meat. We’ll turn a basic chicken breast into the perfect canvas for our delicious chicken lunch meat recipe.
Choosing and Seasoning Your Chicken Breast
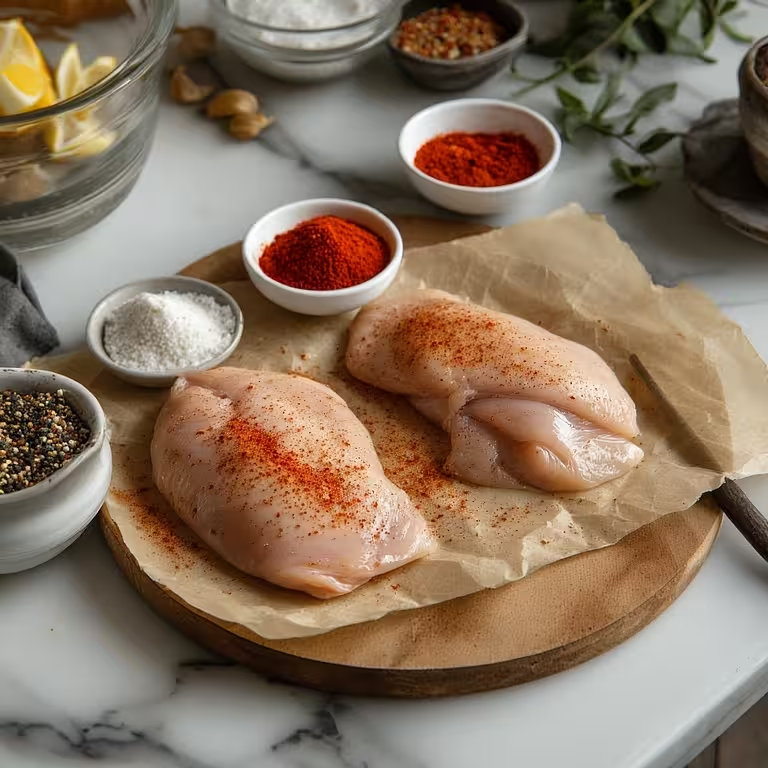
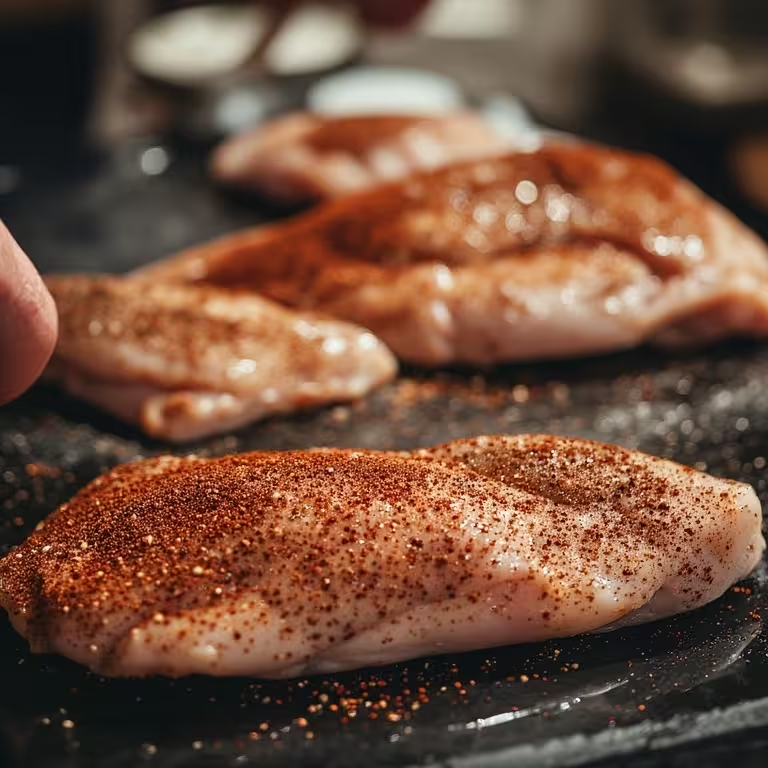
For the best texture and easiest slicing, you should start with boneless, skinless chicken breasts. Look for pieces that are roughly the same thickness to help them cook evenly. The real magic, however, happens with the seasoning. A good spice rub creates a flavorful crust that seasons every slice, a crucial element for a well-rounded chicken lunch meat recipe. While you can use any blend you like, this simple mix is my go-to for a classic, savory chicken breast lunch meat recipe. This is the same principle we apply to other recipes where the crust is key, like these smoked chicken wings; the right seasoning makes all the difference.
| Ingredient | Amount |
|---|---|
| Smoked Paprika | 1 tsp |
| Garlic Powder | 1 tsp |
| Onion Powder | 1 tsp |
| Black Pepper | 1/2 tsp |
| Salt | 1/2 tsp |
The Secret to a Moist and Flavorful Result
Have you ever cooked chicken breast and had it turn out dry? We’re going to prevent that with one simple, game-changing step: a quick brine. Brining is just soaking the chicken in a saltwater solution for a short time. Consequently, this allows the meat to absorb extra moisture, which keeps it juicy and tender during cooking.
You can skip this if you’re short on time, but for the best chicken lunch meat recipe, I highly recommend it. Just dissolve ¼ cup of salt in 4 cups of warm water and let the chicken soak for 30 minutes before seasoning. It’s a technique that works wonders on lean meats, much like it does for a perfect smoked pork loin, making the end result incredibly succulent.
Deliciously Simple Cooking Methods and Flavor Twists
Now that your chicken is prepped and ready, it’s time for the fun part: cooking and customizing. The beauty of this chicken lunch meat recipe is its versatility. You can stick with the classic savory flavor or easily switch things up with some bold new twists. We’ll cover two foolproof cooking methods and a couple of my family’s favorite flavor variations.
Exploring Buffalo and Herb-Infused Chicken Lunch Meat Recipes
The all-purpose seasoning blend we made is a fantastic base, but you can easily create different flavor profiles. For a spicy kick, try making a buffalo chicken lunch meat recipe. After you cook and slice the chicken, simply toss it in a sauce made from two parts of your favorite hot sauce to one part melted butter. It’s perfect for adding a zesty punch to salads or wraps. Alternatively, for a more aromatic and subtle flavor, you can create an herb-crusted version. Before cooking, just press a mixture of finely chopped fresh herbs—like rosemary, thyme, and parsley—onto the surface of the chicken. The herbs will create a delicious, fragrant crust as it cooks.
Oven-Baked vs. Poached: Which Method is Right for You?
You have two great options for cooking your chicken, and both are incredibly simple. The best method depends on the texture you prefer.
The Oven-Baked Method gives your chicken a beautiful, golden-brown exterior, much like you’d find on a perfectly roasted smoked brisket flat. This roasting process adds a deeper, savory flavor to the meat. Just place the seasoned chicken on a baking sheet and cook it at 400°F (200°C) for about 20-25 minutes, or until a meat thermometer reads 165°F (74°C).
The Poached Method is the secret to the most tender, moist chicken imaginable. This method gently cooks the chicken in simmering liquid (water or broth), which results in an incredibly soft texture that’s easy to slice paper-thin. It’s a similar principle to how a Dutch oven pulled pork becomes so tender from cooking slowly in liquid. Simply bring a pot of water or broth to a gentle simmer, add the chicken, and cook for 15-20 minutes until it’s cooked through.
Ultimately, you should choose baking for a roasted flavor and poached for maximum tenderness. Both methods yield a fantastic result for your chicken lunch meat recipe.
Mastering the Slice and Enjoying Your Homemade Deli Meat
You’ve cooked your chicken to perfection, and your kitchen smells amazing. Now, let’s get it ready for the week ahead. Properly slicing and storing is the final step to making your chicken lunch meat recipe a massive success.
Before you do anything else, you must let the chicken cool completely. I recommend chilling it in the refrigerator for at least two hours, but longer is even better. Trying to slice warm chicken will result in shredded, uneven pieces. Cold, firm chicken is the secret to getting those perfect, thin deli-style slices every time. This simple trick is essential for the perfect homemade chicken lunch meat recipe.
Creative Recipes Using Chicken Lunch Meat (Beyond the Sandwich)
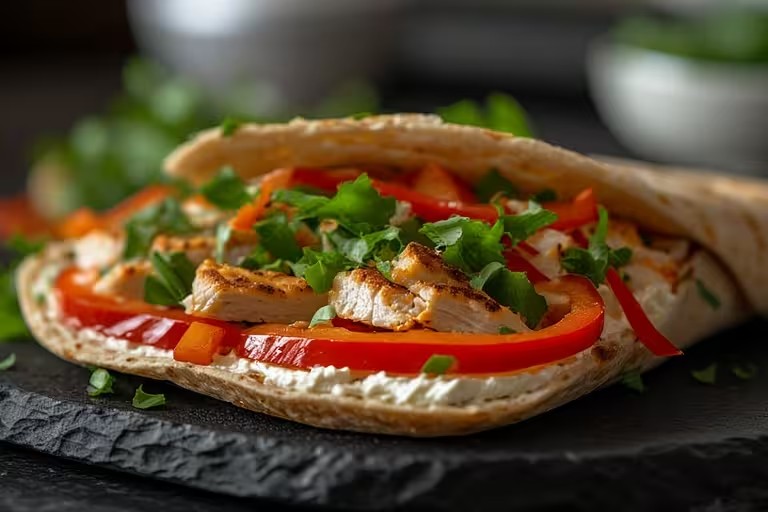
While this chicken makes a phenomenal sandwich, don’t let that limit your creativity. It’s a fantastic source of ready-to-eat protein for all kinds of quick meals. Here are a few simple recipes using chicken lunch meat to get you started:
- Quick Chef’s Salad: Chop the chicken into bite-sized cubes and toss it with fresh greens, cherry tomatoes, hard-boiled eggs, and your favorite dressing for a satisfying lunch.
- Low-Carb Roll-Ups: Take a thicker slice of chicken, spread it with cream cheese or hummus, and roll it around a crunchy veggie stick like a cucumber or bell pepper.
- Savory Snack Board: Arrange the chicken slices on a platter with cheese cubes, crackers, and fruit for an easy, high-protein snack plate. It pairs wonderfully with sides like smoked mac and cheese.
Proper Storage for Lasting Freshness and Flavor
To get the most out of your chicken lunch meat recipe, proper storage is key. Use a long, sharp knife to slice the chilled chicken as thinly as you prefer. Once sliced, place it in an airtight container. For a pro tip, I suggest lining the bottom of the container with a folded paper towel; this absorbs any extra moisture and keeps the slices from becoming slick. Your homemade chicken lunch meat will stay fresh and delicious in the refrigerator for 4 to 5 days.
It also freezes beautifully, so you can make a double batch of this chicken lunch meat recipe and save some for later. Just be sure to place wax paper between the layers so the slices don’t stick together. This makes it a great protein to have on hand for serving with classic sides like smoked baked beans for a quick dinner.
How do I make my own chicken deli meat?
Making your own chicken lunch meat recipe is a simple four-step process. First, you brine boneless, skinless chicken breasts in a saltwater solution to make them juicy. Second, you pat them dry and coat them in your favorite seasonings. Third, you cook them by either baking or poaching until they reach an internal temperature of 165°F (74°C). Finally, and most importantly, you chill the cooked chicken completely in the refrigerator before slicing it thinly.
Is chicken lunch meat unhealthy?
It depends on the source. Many store-bought chicken lunch meats can be unhealthy because they are highly processed and contain large amounts of sodium, chemical preservatives, and nitrates. However, when you make it at home using this chicken lunch meat recipe, it is incredibly healthy. You are using a lean protein and controlling every ingredient, which means no preservatives and a lot less salt.
What is the unhealthiest deli meat?
Generally, the most processed deli meats are considered the least healthy options. Meats like bologna, salami, pastrami, and hot dogs often contain the highest levels of sodium, saturated fat, and nitrates. While fine as an occasional treat, they are typically not recommended for regular consumption.
What can I make with lunch meat besides sandwiches?
This homemade chicken lunch meat recipe is incredibly versatile! You can dice it and add it to a fresh chef’s salad, use slices as a wrap for cheese and veggies for a low-carb snack, chop it up and toss it with pasta or a grain bowl for a quick protein boost, or serve it on a platter with fruit and crackers for a healthy snack board.
Leaving the deli counter behind for good has never been easier or more rewarding. This homemade chicken lunch meat recipe proves that you can create food for your family that is quick, incredibly flavorful, and genuinely healthy—all with just a few simple ingredients and less than an hour of your time. You get to skip the preservatives and control the flavor, resulting in a product that is leagues better than anything you can buy at the store. So go ahead, give this chicken lunch meat recipe a try and rediscover how delicious lunchtime can be.
Print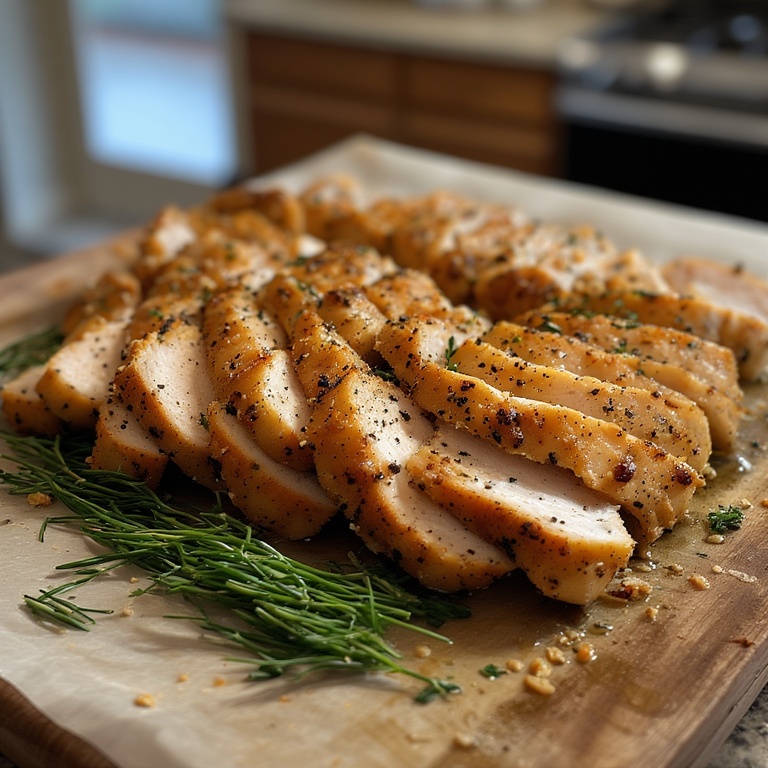
Quick & Flavorful Chicken Lunch Meat Recipe Your Family Will Love
Hi, I’m Maya! Welcome to my kitchen. For me, cooking is all about the love and stories behind the food. I learned that in my grandmother’s sun-drenched Savannah kitchen, watching her turn simple ingredients into something magical. She taught me that homemade is always better, a lesson that inspired this very recipe. I was tired of bland, processed deli meats for my family, so I channeled my grandmother’s wisdom to create this simple, healthy, and flavorful alternative. It’s a taste of my heritage, made with heart, and I’m so excited to share it with you.
- Total Time: 35 minutes
- Yield: 4 1x
Ingredients
- 2 large boneless, skinless chicken breasts (about 1.5 lbs total)
- 4 cups warm water
- 1/4 cup kosher salt (for brine)
- 1 tbsp olive oil
- 1 tsp smoked paprika
- 1 tsp garlic powder
- 1 tsp onion powder
- 1/2 tsp black pepper
- 1/2 tsp salt (for rub)
Instructions
- In a medium bowl, dissolve the 1/4 cup of kosher salt in 4 cups of warm water to create the brine. Add the chicken breasts, ensuring they are fully submerged. Let them soak for 30 minutes. This step is key for juicy chicken!
- Preheat your oven to 400°F (200°C). Remove the chicken from the brine, rinse it under cool water, and pat it completely dry with paper towels.
- Drizzle the chicken with olive oil. In a small bowl, mix the smoked paprika, garlic powder, onion powder, black pepper, and 1/2 tsp of salt. Rub this seasoning blend evenly over all sides of the chicken breasts.
- Place the seasoned chicken on a baking sheet lined with parchment paper. Bake for 20-25 minutes, or until an instant-read thermometer inserted into the thickest part reads 165°F (74°C).
- Remove the chicken from the oven and let it cool to room temperature. For best results, wrap the chicken and chill it in the refrigerator for at least 2 hours before slicing. This makes it firm and easy to slice thinly.
- Using a long, sharp knife, slice the chicken as thinly as you like. Store in an airtight container in the refrigerator for up to 5 days.
Notes
Why Chilling is a Must: Don’t skip the chilling step! Trying to slice warm chicken will result in a shredded texture. A fully chilled chicken breast will give you those perfect, clean deli-style slices.
Flavor Variations: Feel free to add other spices to your rub! A pinch of cayenne for heat or some dried thyme for an herby flavor works wonderfully.
Storage: To keep your lunch meat extra fresh, place a folded paper towel in the bottom of your airtight storage container to absorb any excess moisture.
- Prep Time: 10 minutes
- Cook Time: 25 minutes
- Category: Lunch, Main Course
- Method: Baking
- Cuisine: American
Nutrition
- Serving Size: 4 oz
- Calories: 185
- Sugar: 0g
- Sodium: 450mg
- Fat: 5g
- Saturated Fat: 1g
- Unsaturated Fat: 0
- Trans Fat: 0
- Carbohydrates: 1g
- Fiber: 0g
- Protein: 35g
- Cholesterol: 105mg